Planting Hydrangea Paniculata: Choosing the Right Location
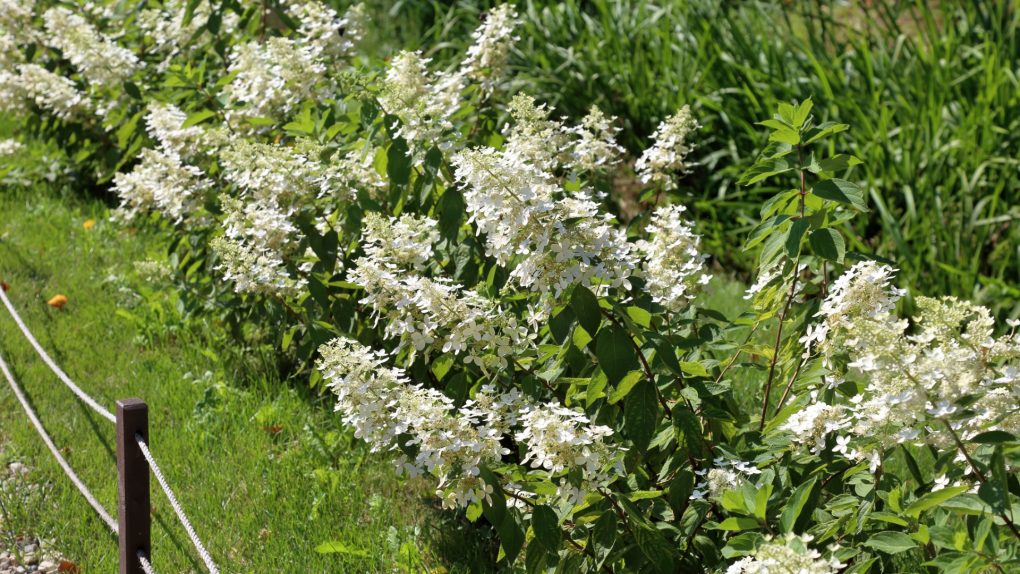
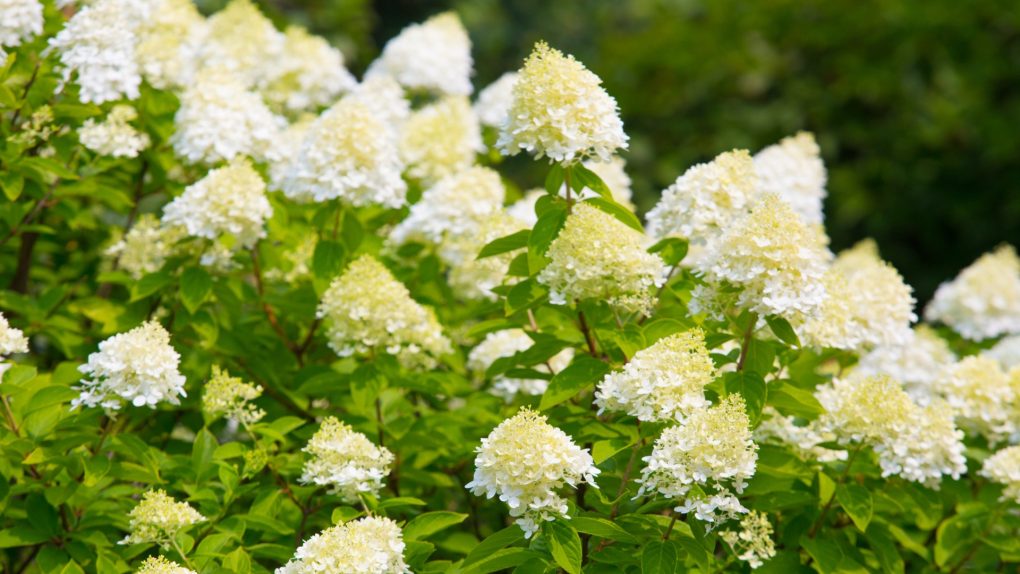
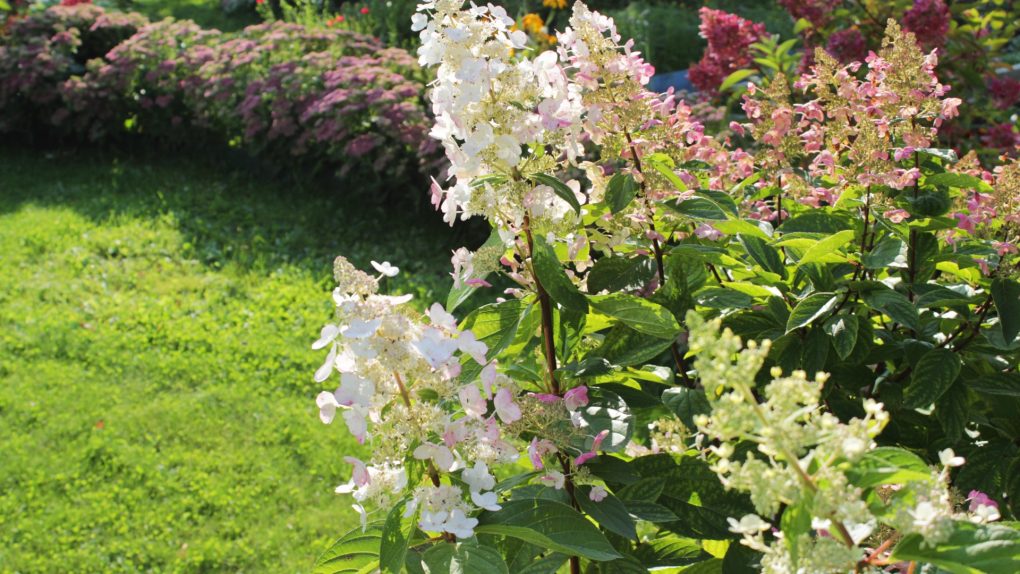
To ensure the successful growth of your Hydrangea paniculata, it’s crucial to select the optimal planting location. These plants thrive in well-draining soil and partial shade, making them popular for gardens worldwide. However, keep in mind that different cultivars may have varying needs, so researching the specific variety before planting is highly recommended.

Table of Contents
Consider the Climate and Sun Exposure
Hydrangea paniculata is a hardy shrub that can adapt to various climates, but understanding its preferred growing conditions is essential for optimal growth and health.
Hardiness Zones
Hydrangea paniculata is a versatile shrub that can thrive in various hardiness zones, specifically USDA zones 3-8. Although it can tolerate cold temperatures, extremely hot summers or dry conditions may pose challenges.
Note: Different cultivars of Hydrangea paniculata may have specific hardiness zone requirements. Before planting, check the requirements of your chosen cultivar.
Sun Exposure
While Hydrangea paniculata can tolerate full sun, it prefers partial shade or filtered sunlight. This is especially important in hot summer areas where excessive direct sunlight can cause wilted leaves and dried-out flowers.
When planting, consider the amount of sunlight the plant will receive throughout the day. Most cultivars thrive in locations with morning sun and afternoon shade. However, be aware that certain cultivars may require different sunlight conditions.
Remember that excessive shade can result in reduced flower production and weaker stems. Insufficient sunlight may cause the plant to become leggy and produce fewer blooms.

Soil Requirements for Hydrangea Paniculata
Hydrangea paniculata, or panicle hydrangea, is a relatively low-maintenance shrub that can adapt to various soil types. However, meeting specific soil requirements ensures optimal growth and health.
pH Level
Panicle hydrangeas prefer mildly acidic to neutral soil, with a pH range of 5.8 to 7.0. This pH range helps prevent nutritional issues and ensures optimal nutrient uptake. Adjust the pH level by adding lime to raise it or sulfur to lower it, if necessary.
Drainage
Good drainage is crucial for panicle hydrangeas. Do not plant them in areas with standing water or constantly moist soil, which can lead to root rot. If your soil is heavy or poorly draining, improve its drainage by incorporating organic matter such as compost or peat moss.
Nutrient Requirements
Panicle hydrangeas are relatively inexpensive when it comes to soil nutrients. Fertile soils promote optimal growth and flowering. However, applying a balanced fertilizer in the spring can provide the necessary nutrients. However, be cautious not to over-fertilize, as excessive foliage growth may hinder flower production.
Spacing and Planting Considerations
Spacing
When planting Hydrangea paniculata, consider the spacing between the plants. These shrubs can grow quite large, so leaving at least 6 feet of space between them is advisable. Ample room for growth prevents overcrowding.
Also, consider the spacing between the shrubs and other nearby plants or structures. Since Hydrangea paniculata can reach up to 15 feet in height and width, plant them away from buildings, power lines, and other structures.

Planting Depth
Proper planting depth is crucial for Hydrangea paniculata. It is important for the root ball to be level with the soil surface at the top. Planting too deep can suffocate the roots while planting too shallow can cause them to dry out.
Leave at least 2 inches of space around the crown to prevent rotting.
Mulching
Mulching plays a vital role in the successful planting of Hydrangea paniculata. Apply a 2-3 inch layer of shredded bark mulch around the base of the plant, leaving a 2-inch space around the crown. This practice helps retain moisture in the soil and regulates root temperature.
Avoid piling the mulch against the stem, which can lead to rot. Instead, spread the mulch in a thin layer around the base of the plant.
Watering and Fertilizing Tips
Hydrangea paniculata is a resilient shrub that can tolerate dry conditions once established. However, regular watering and proper fertilization contribute to vibrant and healthy flowers. Here are some essential tips:
Watering Frequency
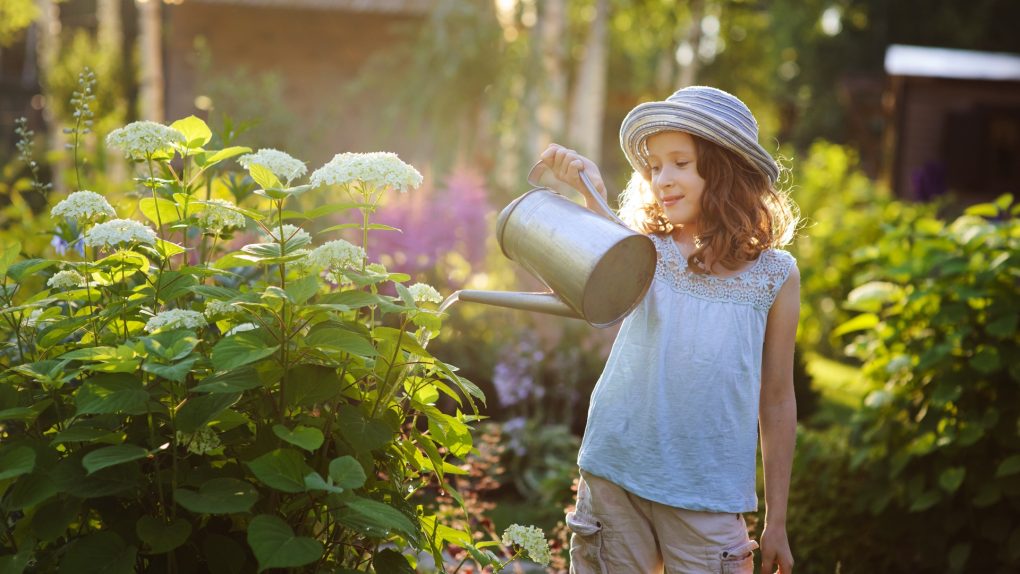
Panicle hydrangeas require regular watering during the first year or two to establish a strong root system. Water deeply once or twice a week, adjusting frequency based on weather and soil conditions. Hydrangeas may need more frequent watering in hot and dry weather to maintain soil moisture. Avoid overwatering, as it can lead to root rot and other issues.

Fertilizing Frequency
Panicle hydrangeas thrive in well-draining soil enriched with organic matter. Apply a slow-release fertilizer high in phosphorus during early spring to promote flower production. Refrain from fertilizing in late summer or fall, as it may stimulate new growth that does not have enough time to harden off before winter. Excessive nitrogen can result in lush foliage at the expense of flowers.
Follow the manufacturer’s instructions when applying fertilizer to prevent root burn and plant damage. A soil test can help determine pH and nutrient levels, guiding your fertilization strategy.
Pruning and Maintenance Recommendations
Hydrangea paniculata is a low-maintenance plant that requires minimal pruning. However, regular maintenance is crucial for the plant’s health and optimal growth. Consider the following tips for pruning and maintaining your Hydrangea paniculata:
Pruning Time
Prune Hydrangea paniculata in late winter or early spring, before new growth appears. Since panicle hydrangeas bloom on new wood, pruning at the right time ensures abundant flowers for the season.
Deadheading
Although not essential for plant health, deadheading can enhance the appearance and encourage additional blooms. Remove spent flowers as soon as they fade by cutting the stem below the flower.

Pest and Disease Control
Hydrangea paniculata generally resists pests and diseases. It’s important to be aware of common issues:
● Leaf spot: This fungal disease causes brown spots on the leaves. Infected leaves should be removed and disposed of properly.
● Spider mites: These tiny pests can cause yellowing and stippling on the leaves. Dislodge them by spraying the plant with a strong stream of water.
● Scale insects: These pests can result in yellowing and wilting of the leaves. Use an insecticidal soap to control the infestation.
Regularly inspecting the plant allows early detection of issues, preventing their spread.
