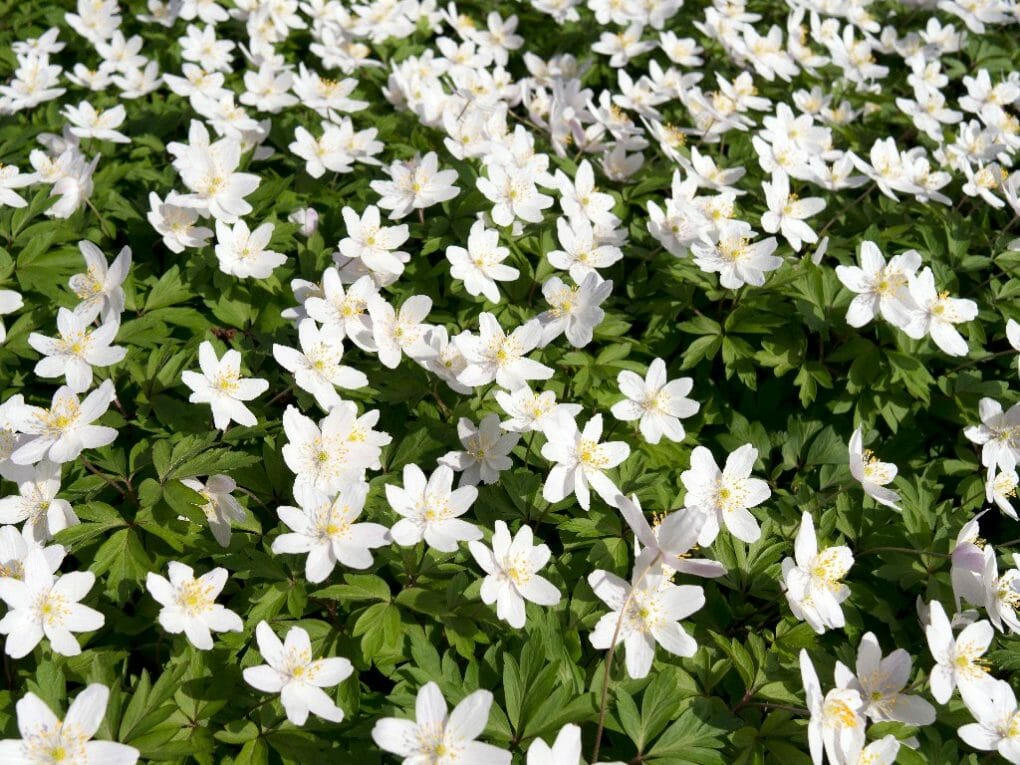
How To Plant Anemone Bulbs – Tips For Growing Beautiful Anemone Flowers

Would you like to learn how to plant an anemone through bulbs? If so, this guide is for you! By following these simple steps, you can plant an anemone in the garden and in pots. Enjoy its beauty for years to come. Bulb planting doesn’t have to be complicated – and with a little practice, you’ll be able to easily grow beautiful anemones in your home. So start reading and get started on your journey to becoming a bulb mastermind!
Table of Contents
Planting Anemones
- Anemone bulbs should be submerged in water for at least four hours (or overnight) before planting to promote faster and more robust growth.
- Pick a spot for planting that has soil that drains properly and gets at least a half day’s worth of direct sunlight at the very least.
- When planting anemone bulbs, provide a distance of 2 and 4 inches between each bulb.
- Bury the bulbs at a depth of between 1 and 2 “in the ground depths.
- Since anemone bulbs do not truly have a “pointy” or “flat” side, it is not important which side is planted when planting them in the ground.
- After all the bulbs have been planted, you should thoroughly saturate the area with water. The bulb will begin to grow roots in the fall, and then in the spring, it will sprout and blossom. While the plant is developing and producing flowers, water it as often as necessary. Do not water the plant while it is in its dormant season.
- When the blooms bloom, they can be cut and used in fresh flower arrangements. The plant will suffer no ill effects as a result of this at all!
- Once the blooms show signs of wilting, you should let the foliage turn yellow and eventually die back. The sunlight will continue to be absorbed by the leaves, which will provide nourishment for the flowers that blossom the next year.
- After the leaves have become a yellowish-brown color and become dry, they can be removed from the soil by carefully taking them. If the leaves cannot be pulled away from the bulb without much effort, they are not yet ready to be removed. Your anemones will have entered their dormant state and be ready to “rest” till the following year once the foliage has been removed.
Planting Anemones in Your Garden
- Hold off until the soil temperature is at least 60° F (15°C) lower. This will take place in September or October in the Northern hemisphere and either October or November in the Southern hemisphere.
- Find an area in your garden that has soil that drains well and either gets full sun or partial shade, and plants your seed there.
- Plant the anemone bulbs around 2-3 inches deep and 2-3 inches apart, making sure to place them in the ground so that the pointed ends are facing upward.
- One time only, water well, and look forward to spring.
- Do not trim off the foliage of anemones once they have finished blooming. After waiting for it to turn entirely yellow and brittle, you can then remove it.
Planting Anemones in Containers
- Wait until the weather is chilly and the soil temperature has dropped to at least 60°F below that. This will take place in September or October in the Northern hemisphere and either October or November in the Southern hemisphere.
- Choose a location that receives either direct sunlight or complete shadow.
- Find a container that has good drainage and fill it with loose soil, ensuring water does not pool and remains at the bottom of the container.
- Plant the anemone bulbs approximately 2-3 inches deep and 2-3 inches apart, placing them in the soil so that the pointed ends facing upward. Because containers typically have a certain amount of space, you can also try experimenting with arranging the bulbs closer together. However, you should ensure that they do not come into contact with one another.
- Suppose you reside in a hardiness zone 3-7, water the plants thoroughly once, and wait until spring. You can also give them a lot of water and bring the pots inside, where you can put them in a cold place like a garage or basement that isn’t heated.
- Do not trim off the foliage of anemones once they have finished blooming. After waiting to turn entirely yellow and brittle, you can remove it.
Tips in Growing Anemones

- When you take anemone bulbs from their packaging, you will see they are very firm and appear to have shrunk. Before you plant them, bathing them in a basin of tepid water for two to four hours will help them produce much healthier roots. To multiply anemones by planting bulbs, choose healthy bulbs from an established anemone plant or purchase them from a reputable supplier.
- Anemones are best planted in the fall, when the weather has cooled off sufficiently, in zones 4-8. This is the best time for them. Anemones are not particularly like the cold. Therefore it is better to plant them towards the beginning of spring if you reside within the hardiness zones 3-7.
- One thing that flower bulbs despise is getting their feet wet; a bulb that is “bathing” in water will decay in no time. Flower bulbs are hardy little cookies that are simple to cultivate. Soggy soil should be avoided at all costs. This includes locations where puddles can still be seen 5 or 6 hours after a downpour has passed. You can also improve boggy soil by mixing in organic materials like peat, bark, or manure. By doing this, the soil will avoid becoming soggy. When it comes to planting bulbs in containers, the rule of thumb is always the same: drainage, drainage, and more drainage. Find a container, a pot or a box, with at least a few drainage holes in the base.
- Anemones require sun exposure, but not an excessive amount of it. This indicates that they will thrive in locations that receive a combination of dappled shade and dispersed sunlight.
- Dig a hole three times as deep as the bulb’s height, then place the bulb inside to determine the optimal planting depth. This is the conventional method for calculating the perfect planting depth. Since anemones do not have the typical “onion” form that other bulbs do, you can position them in any way you like, and they will still grow their branches towards the soil’s surface. Putting anemones 2-3 inches apart is recommended, so they do not have to compete with their fellow bulbs for the nutrients they require for optimal growth.
- Beyond the bulbs that have been planted, they need a good amount of water to help them become established and start growing roots as soon as possible; however, you do not need to water them again after this point. At this point, all you need to do is be patient and wait for winter to work its wonders below ground, and spring will take you by surprise with the fruits of your labor.
- You won’t typically need to water your anemones when they bloom, but you should do so if there hasn’t been any precipitation for at least three to five days.
- Do not immediately prune the anemone’s foliage after the flowers have completed flowering. The anemone’s leaves will continue to produce nutrients for the bulb through a process called photosynthesis that will be necessary for the bulb’s subsequent growing season. After a few weeks, the foliage will turn yellow on its own and eventually die back; at that point, you can remove it. After this, the bulb will become dormant, and it won’t require further watering until the following spring.
